

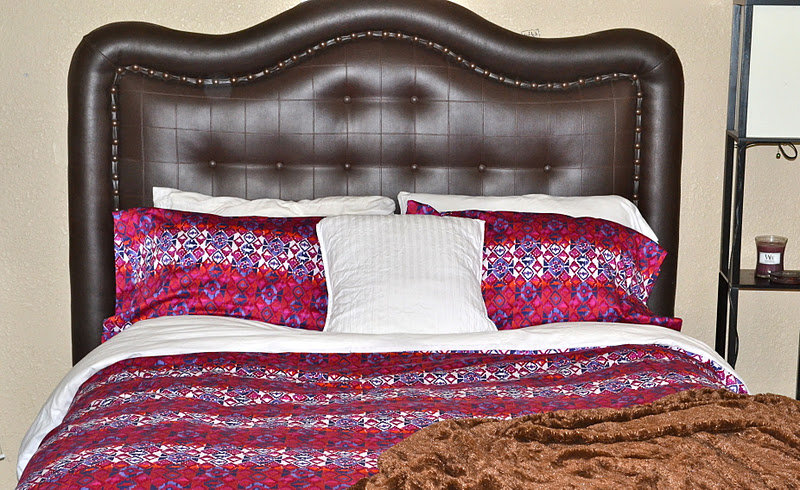
I really like duvets; duvets are simple items that really can change the look of your bedroom. The one problem is that they usually come with a hefty price tag. I fell in love with a fabric and continued to day-dream about the idea of making a duvet. I went in, found it on the clearance rack, and I decided to buy it. The moment they cut my fabric my stomach dropped..what was I getting myself into?! I was so intimidated by the large amount of fabric but was determined not to let it stop me from creating a beautiful duvet. It was way easier than I expected and I'm very happy with the results. My completed duvet with two matching pillowcases cost me just under $45 :)
Here's a tutorial explaining my process:
Supplies

1 flat queen size sheet (I chose white)
7 yards fabric: 6 for the duvet and 1 for the pillow cases
Matching thread, sewing machine, pins, seam ripper (just in case!), and patience.
Pillowcases

I used another pillowcase to trace the size. I sewed one long side together with the print side touching the other print side, creating a long piece of fabric.

Next I hemmed the end of the pillowcase. I measured a few inches in and pinned in place.


With the pillow case still inside out I sewed the other side together and then the bottom.

Trimmed the edges and repeated for the second pillowcase.
*Tip I studied a pillowcase I had at home. From that I was able to understand the stitches I needed and the basic size/shape.


Duvet Cover

I wanted my duvet size to be 86 x 94 inches and the fabric I bought was cut down to 92 x 100 inches. I wanted to have a lot of extra fabric just in case. I laid my fabric on top of a duvet to check the size and trimmed where needed.
*Tip if you want a easier route instead of measuring fabric you can sew two flat sheets together. Most designers actually use the same fabric for their sheets and duvets!

I fell in love with this ikat fabric, the print made it a little harder but not impossible! Luckily you can see the faint stripes going down lengthwise. My goal was to line them up to create a seamless seam.

I had two pieces of identical fabric the width of the picture below. The two side panels were made from cutting the one piece in half.

I laid out the fabric how to check the size and began to pin to create the top of my duvet

pinning pinning pinning

Pins in place

Checking before making a quick stitch

After stitching a quick simple stitch, I trimmed before feeding the fabric through again using a sturdier stitch.


After the three panels are sewn together I made a hem similar to the pillow cases, this is where you will feed your comforter through, this will be the bottom of your duvet. I'm planning on putting buttons on mine. You can use ties, snaps, or nothing depending on your personal preference.

I stitched in place then moved on to sewing the flat sheet to my fabric piece.

I lined up the flat sheet which was hemmed already to my hemmed piece. Make sure you keep it inside out to hide the seam!

I pinned in place about 7 inches in on both corners, I left 1 inch unstiched on each corner. I then sewed to the top to seal off the side making a L shape.


Keeping the fabric inside out you will sew similar to the black lines above. Both sides will be sewn touching the bottom side and the bottom sewn together. Trim excess when finished.

For the open end I tucked in the corner and stitched inside out

Above is how I tucked it inside. Once you sew that, you're finished! It should look like a giant pillow case! The duvet is actually reversible: one side ikat and the other a crisp white. Now all you need to do is add a comforter inside and relax!


Good luck!


